How to Export Your Mix for Mastering: Step-by-Step Guide & DAW Tips

How Should I Export My Mix for Mastering?

Mastering Preparation: Your Ultimate Guide to Exporting a Mix Like a Pro

Mastering is the final, crucial step in transforming your music from a mix to a polished masterpiece. But did you know that how you export your mix can significantly impact the mastering process and the ultimate sound of your tracks? In this comprehensive guide, we'll break down the essential steps to ensure your music is primed for mastering success.

1. Fine-Tuning Your Mix

  • Critical Listening: Put on your best headphones or studio monitors and meticulously evaluate your mix. Does every element sit in its right place? Are the levels balanced, and the dynamics engaging? This is your last chance to address any mix imbalances before mastering.
  • Reference Tracks: Compare your mix to professionally mastered songs in your genre. Pay attention to overall loudness, clarity, and the balance of frequencies. This will give you a benchmark and help you identify any areas that need improvement.
  • Leave Some Breathing Room: Ensure your mix has a dynamic range. Avoid excessive compression or limiting at this stage. You want to leave ample headroom for the mastering engineer to work with.

2. Preparing Your Tracks for Export

  • Silence is Golden: Add at least 2-3 seconds of silence at the beginning and end of each track. This provides a buffer for fades and reverb tails, ensuring they don't get cut off abruptly.
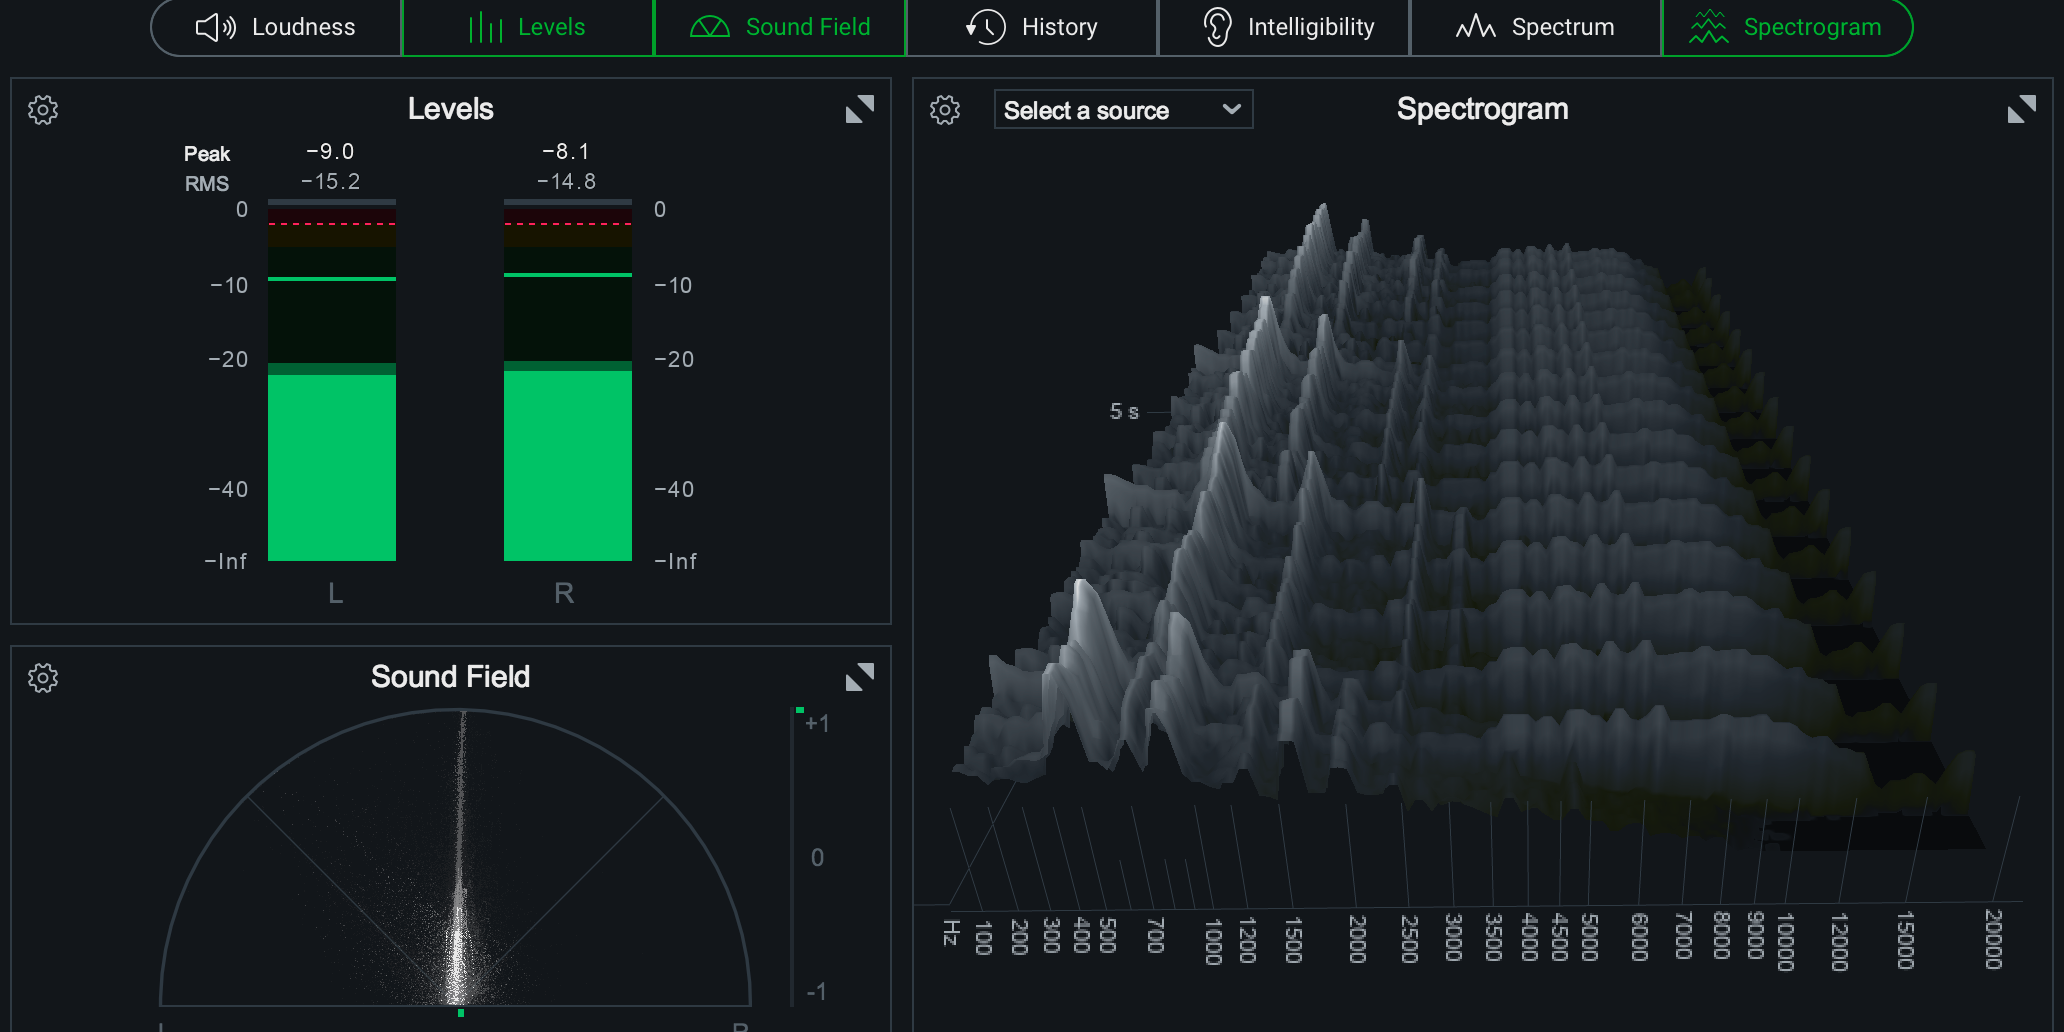
  • Check for Clipping: Make absolutely sure that no peaks in your mix are exceeding 0 dBFS. Clipping can cause distortion and make the mastering engineer's job much harder.
  • Remove Master Bus Processing: Strip your master bus of any EQ, compression, limiting, or other processing. The mastering engineer will apply their own processing, tailored to your music.
  • Label Clearly: Name your files with the artist name, song title, and mix version (e.g., "Artist Name - Song Title - Mix v2.wav"). This will help you and the mastering engineer stay organized.

3. Exporting with Precision

  • File Format: Export your mix in a lossless format like WAV (recommended) or AIFF. These formats retain the full fidelity of your audio.
  • Sample Rate and Bit Depth: If possible, export at the same sample rate and bit depth as your project (e.g., 48 kHz, 24-bit). If not, 44.1 kHz, 24-bit is a standard option.

4. Communication is Key

  • Reference Tracks (Again): If you have specific reference tracks that capture the sound you're aiming for, share them with your mastering engineer. This gives them valuable insight into your sonic goals.
  • Provide Feedback: Clearly articulate any concerns or specific requests you have for the mastering process. The more information you provide, the better equipped the engineer will be to deliver a master that meets your expectations.

5. Choosing Your Mastering Engineer

  • Do Your Research: Look for mastering engineers with experience in your genre. Check out their portfolio and client testimonials.
  • Ask Questions: Don't hesitate to reach out to potential mastering engineers with questions about their process, rates, and turnaround time.

The Mastering Advantage

Mastering is not just about making your music louder; it's about enhancing its clarity, depth, and overall impact. By following these steps and collaborating with a skilled mastering engineer, you can elevate your music to its full potential.

Step-by-Step Guides for Popular DAWs

We've covered the essential principles, but let's get hands-on. Here's how to export your mix in high-quality WAV format using some of the most common digital audio workstations (DAWs):

Logic Pro X:

  1. File > Bounce > Project or Section: Choose "Project" to export your entire song, or "Section" to select a specific range.
  2. Bounce Options:
    • Destination: Select a folder to save your file.
    • File Format: Choose "WAV."
    • PCM Format: Select "24-bit" (or higher if available).
    • Normalize: Leave this unchecked.
    • Include Audio Tail: Check this box.
  3. Bounce: Click "Bounce" to start the export process.

GarageBand:

  1. Share > Export Song to Disk:
  2. Export Options:
    • Compress: Select "None" (for WAV format).
    • Audio Settings:
      • Format: "WAV"
      • Quality: "High" (or "Maximum" if available)
  3. Export: Click "Export" to save your file.

Pro Tools:

  1. File > Bounce to:
  2. Bounce Options:
    • File Type: "WAV"
    • Bit Depth: "24-bit" (or higher if available)
    • Offline: Check this box.
    • File Name: Choose a name and location for your file.
  3. Bounce: Click "Bounce" to start the export.

Ableton Live:

  1. File > Export Audio/Video:
  2. Render Options:
    • Render Mode: "Master"
    • File Type: "WAV"
    • Sample Rate: Match your project's sample rate (or choose 44.1 kHz).
    • Bit Depth: "24-bit" (or higher if available).
    • Normalize: Leave this unchecked.
    • Dither: If exporting to 16-bit, choose a dithering mode.
  3. Export Range: Choose "All" or specify a custom range.
  4. Export: Click "Export" to save your file.

FL Studio:

  1. File > Export > Wave file:
  2. Export Settings:
    • Mode: "Resample" (if necessary)
    • Format: "24 bit" (or higher if available)
    • Split Mixer Tracks: Check this if you want to export stems.
  3. Export: Click "Start" to begin the export process.

Cubase:

  1. File > Export > Audio Mixdown:
  2. Export Options:
    • File Name and Path: Choose a location and name for your file.
    • File Format: "Wave"
    • Sample Rate: Match your project's sample rate (or choose 44.1 kHz).
    • Bit Depth: "24-bit" (or higher if available).
    • Channel Format: "Stereo" (unless you're exporting stems).
  3. Export: Click "Export" to start the process.

Studio One:

  1. Song > Export Mixdown:
  2. Export Options:
    • Format: "WAV"
    • Sample Rate: Match your project's sample rate (or choose 44.1 kHz).
    • Bit Depth: "24-bit" (or higher if available).
    • Dithering: If exporting to 16-bit, choose a dithering mode.
  3. Export Range: Choose "Entire Song" or specify a custom range.
  4. Export: Click "Export" to save your file.

Additional Tips & Tricks:

  • Dithering: If you're exporting at a lower bit depth (e.g., 16-bit), consider applying dithering. This adds a small amount of noise to help reduce quantization errors and preserve audio quality.
  • Track Organization: If you're sending multiple tracks for stem mastering (mastering individual tracks separately), organize them into folders for easy navigation.
  • Reference File: If you're sending reference tracks to your mastering engineer, export them in the same format and quality as your mix.
  • Cloud Storage: Consider using a cloud storage service like Dropbox or Google Drive to share your files with the mastering engineer. This makes the process seamless and secure.

Bonus Tip: The Pre-Master Checklist

Before hitting "export," run through this final checklist:

  • Mix Review: Listen one last time to your mix in its entirety. Make any final adjustments.
  • Levels Check: Ensure no peaks are clipping.
  • Silence: Verify that you have added silence at the beginning and end.
  • Master Bus: Double-check that all processing has been removed.
  • File Naming: Make sure your files are labeled clearly and consistently.
  • Backups: Create backup copies of your project and exported files.

Have questions or want to learn more? Drop a comment below, and I'd be happy to chat! And if you're curious about how mastering can elevate your music, be sure to check out my free mastering sample offer.


1 comment

  • Robert Muller on

    I’ve never done this before so I don’t have a particular vision in mind. I Guess mostly for streaming . Youtube , Spotify exc. I would like to take you up on your offer of a sample first. Thank you.

Leave a comment