Mastering for streaming isn’t just about making your track loud — it’s about hitting precise loudness, peak, and format requirements so your song translates perfectly across different platforms.
In this guide, we’ll cover the exact LUFS and true peak targets for major streaming services, how to measure and achieve them, and the technical workflow that ensures your music sounds consistent everywhere.
Why You Need Platform-Specific Mastering
Every streaming service processes audio differently. Most use loudness normalization, adjusting the playback volume to a set target. If your master is too loud, it will be turned down. If it’s too quiet, it will be turned up — and in both cases, the tonal balance and perceived punch can change.
Knowing each platform’s specs lets you deliver a master that won’t be altered in a way that hurts your sound.
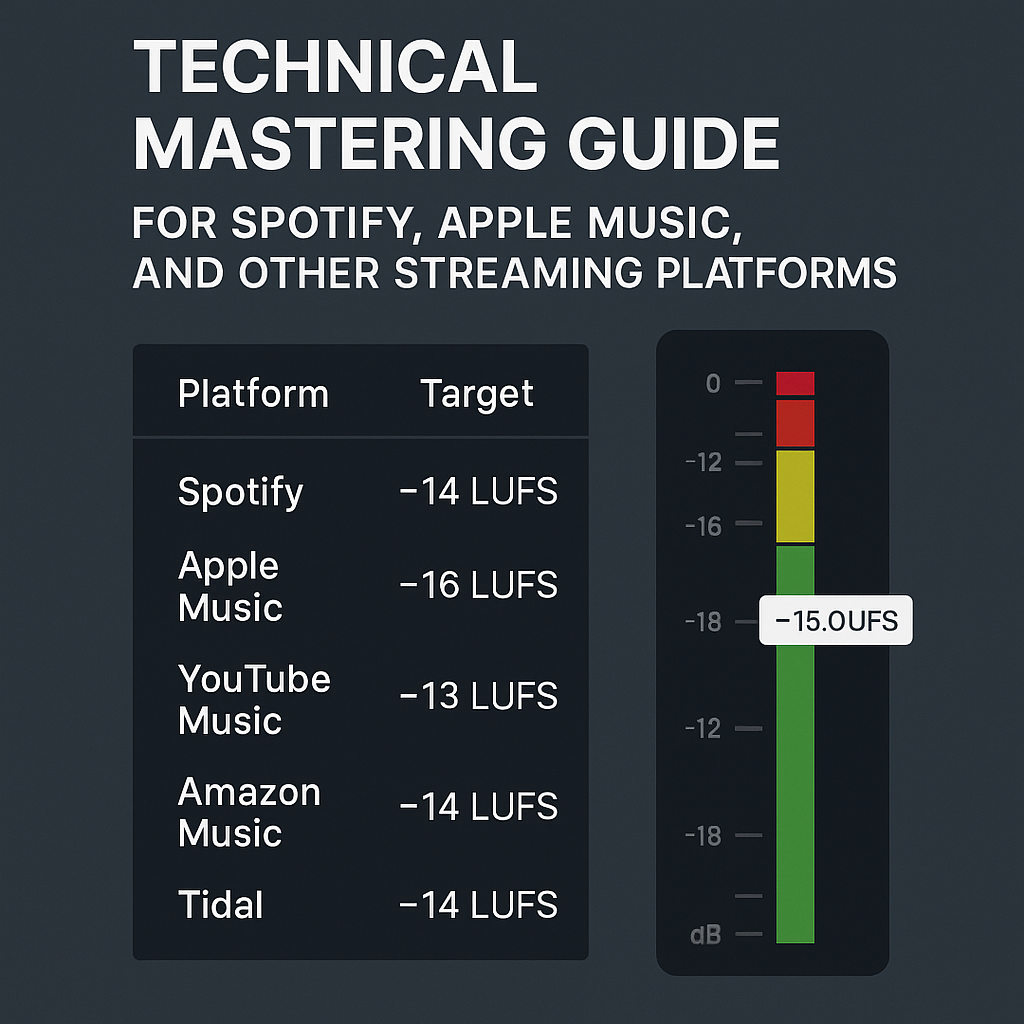
Loudness and True Peak Targets by Platform
|
Platform |
Integrated Loudness (LUFS) |
True Peak Max |
|---|---|---|
|
Spotify |
–14 LUFS |
–1.0 dBTP |
|
Apple Music |
–16 LUFS |
–1.0 dBTP |
|
YouTube Music |
–13 LUFS |
–1.0 dBTP |
|
Amazon Music |
–14 LUFS |
–1.0 dBTP |
|
Tidal |
–14 LUFS |
–1.0 dBTP |
|
Deezer |
–14 LUFS |
–1.0 dBTP |
Tip: Always verify these targets against current documentation, as platforms can adjust them.
File Format Recommendations
-
Container: WAV or AIFF (lossless)
-
Sample Rate: Match your session (commonly 44.1 kHz or 48 kHz)
-
Bit Depth: 24-bit is standard; 32-bit float if you want to avoid any risk of truncation
-
Channels: Stereo interleaved unless you are delivering stems
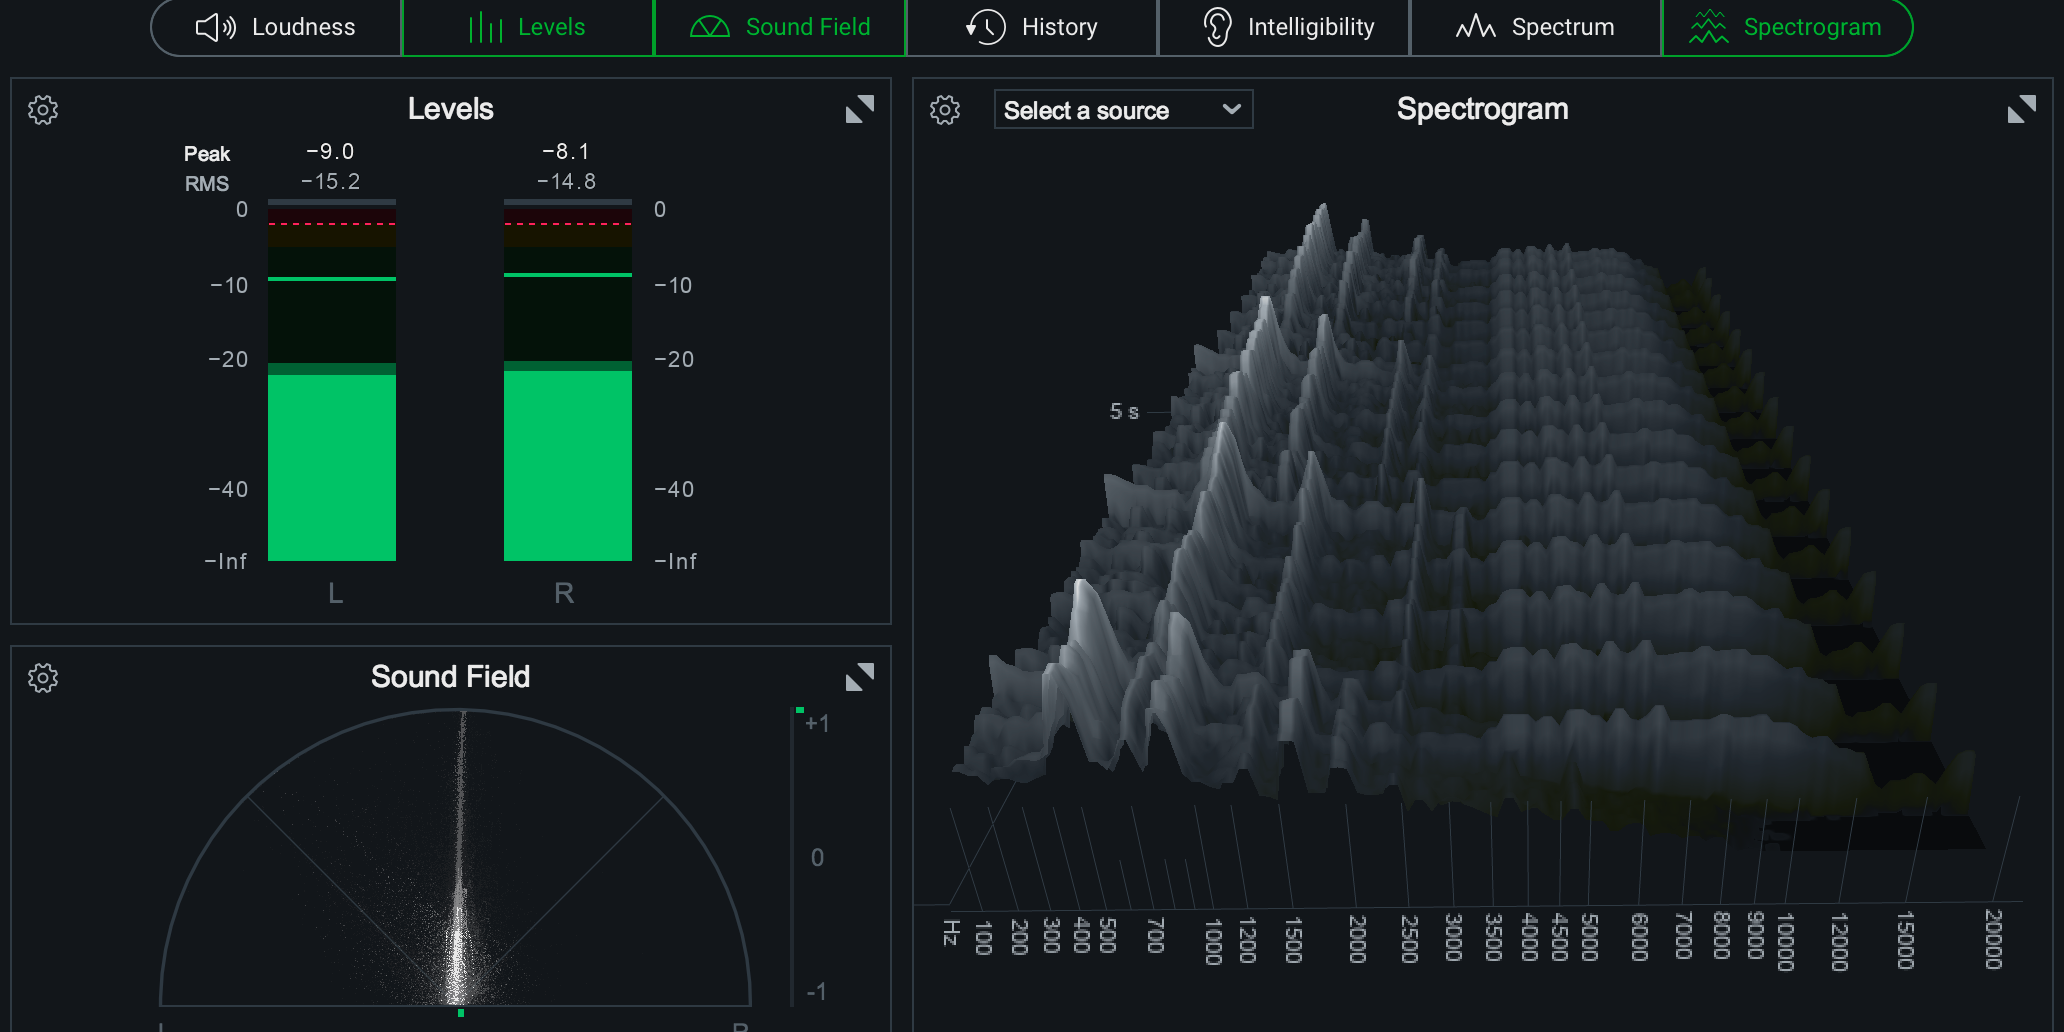
How to Measure Loudness and Peaks
Use a LUFS meter to measure integrated loudness and true peak:
-
Youlean Loudness Meter (free and paid versions)
-
iZotope Insight 2
-
NUGEN Audio VisLM
Check these:
-
Integrated LUFS over the whole track (matches platform target)
-
True Peak — don’t exceed –1.0 dBTP to avoid intersample clipping after encoding
Workflow for Mastering to Streaming Specs
-
Import your final mix into your mastering session.
-
Set your limiter ceiling to –1.0 dBTP.
-
Adjust gain staging so your integrated LUFS matches the platform target you care about most (often –14 LUFS for Spotify).
-
Measure multiple times — LUFS can vary depending on the arrangement.
-
Export as 24-bit WAV, same sample rate as the session.
-
Double-check your file using a loudness penalty analyzer to simulate platform adjustments.
Mastering for Multiple Platforms at Once
You don’t necessarily need a different master for each platform. The best approach is to:
-
Master to –14 LUFS, –1.0 dBTP
-
Make sure your dynamics and tonal balance hold up when normalized to –16 or –13 LUFS
-
If you want absolute perfection, create alternate masters for very dynamic material or specific release priorities (e.g., a special Apple Digital Masters version)
Avoid These Pitfalls
-
Over-compressing: Sacrifices punch and makes normalized playback sound lifeless.
-
Clipping the true peak: Encoding to AAC/MP3 can add 0.5–1 dB of peak level, causing distortion.
-
Ignoring platform updates: Specs change over time — revisit them before each release.
Final Checklist
✅ Match LUFS target for your primary platform
✅ Keep true peaks at –1.0 dBTP or lower
✅ Export in 24-bit WAV or AIFF
✅ Preserve dynamics for streaming normalization
✅ Verify with loudness meter and loudness penalty tool
If you need a master that’s optimized for every major streaming platform, I can deliver a final file that meets specs across the board. Start your mastering project here.