If you want your music to sound great on Spotify, Apple Music, YouTube Music, or any other streaming service, mastering is the step that takes your final mix and prepares it for the real world. It’s the polish, balance, and consistency that makes your track shine — whether someone hears it through studio monitors, cheap earbuds, or their car stereo.
In this guide, we’ll cover what mastering for streaming means, why it’s different from mastering for physical formats, and how to prepare your music so it’s ready to compete on any platform.
What Does “Mastering for Streaming” Mean?
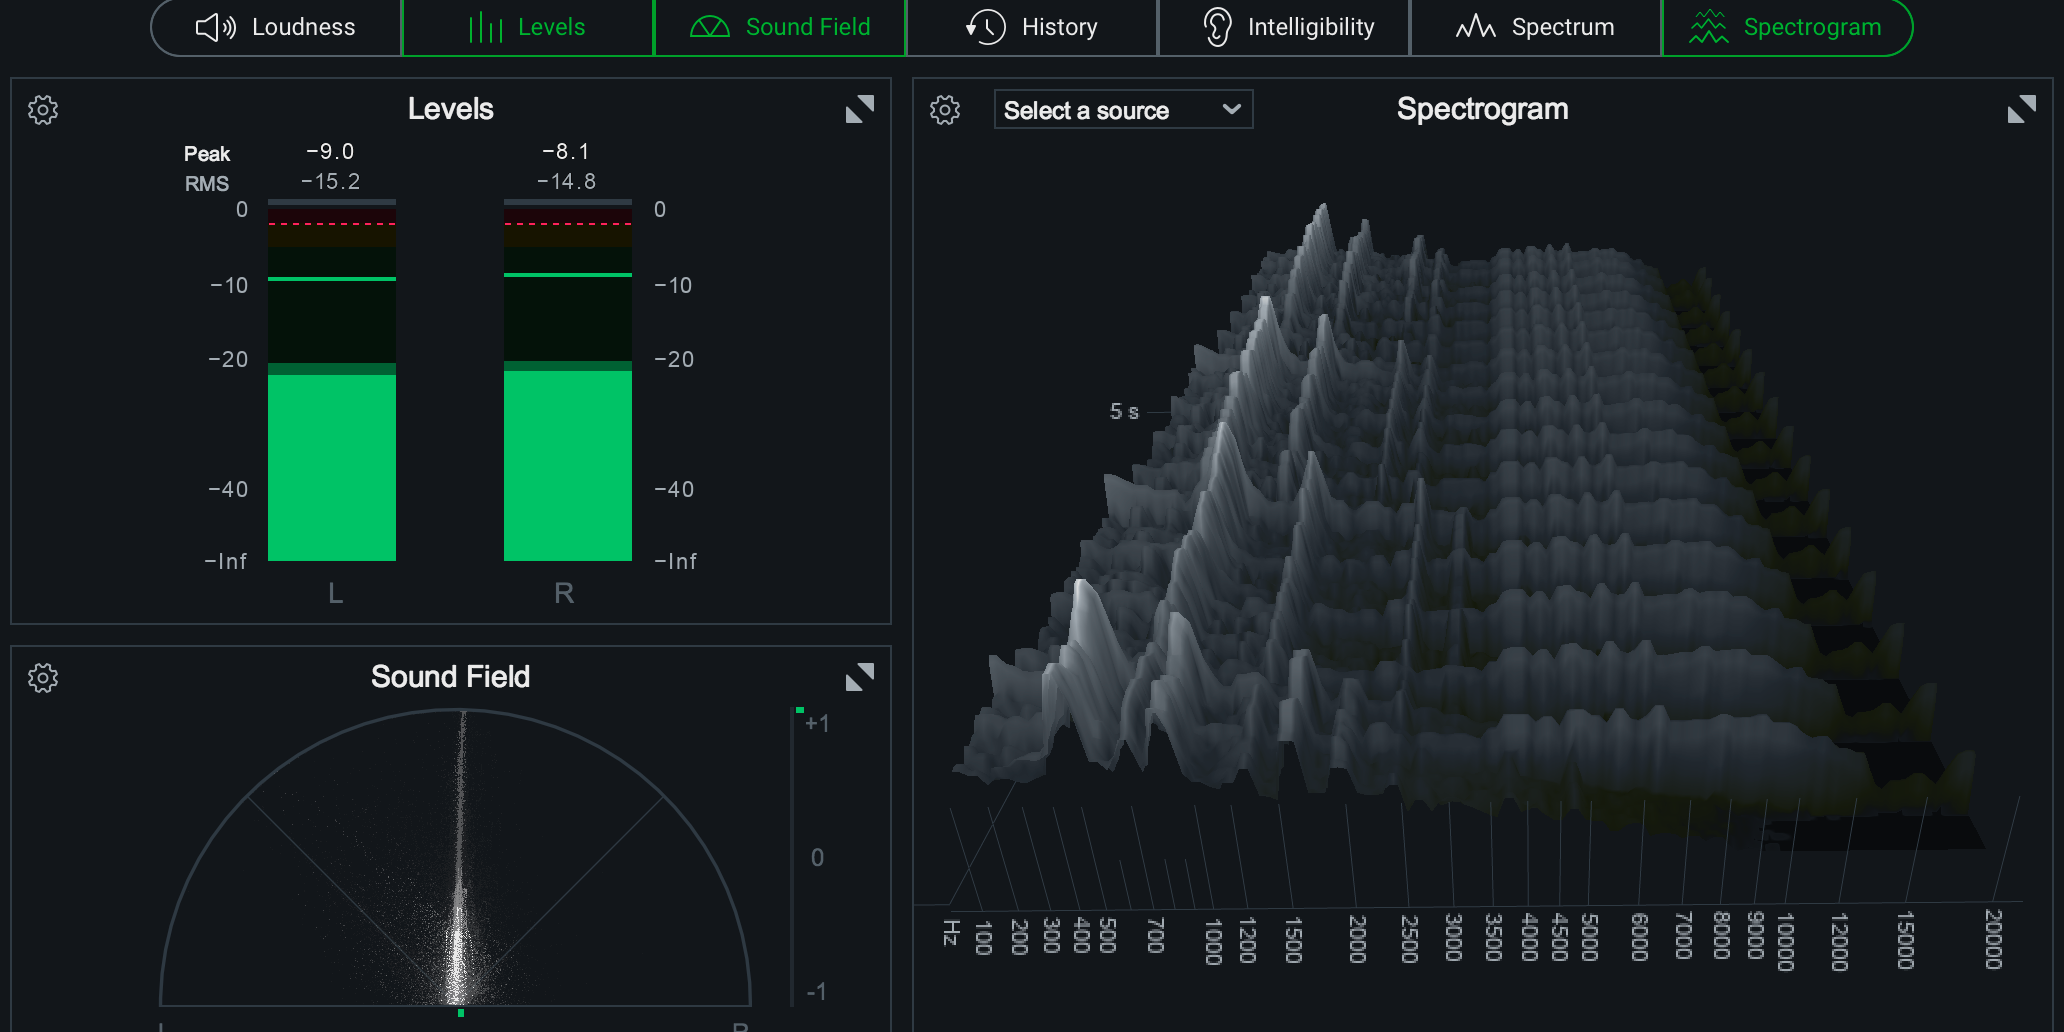
Streaming platforms often adjust the playback loudness of every track so listeners don’t have to constantly reach for the volume knob. This process is called loudness normalization.
If your master is too loud, the platform will turn it down — and sometimes the results won’t sound the way you intended. If it’s too quiet, it might not stand out. Mastering for streaming means understanding these adjustments and preparing your track so it still sounds balanced, powerful, and clear after normalization.
Why Mastering for Streaming Is Different
Mastering for a CD or vinyl release focuses on absolute loudness, since there’s no normalization happening after playback. Streaming services, on the other hand, each have their own target loudness level and technical quirks.
For example:
-
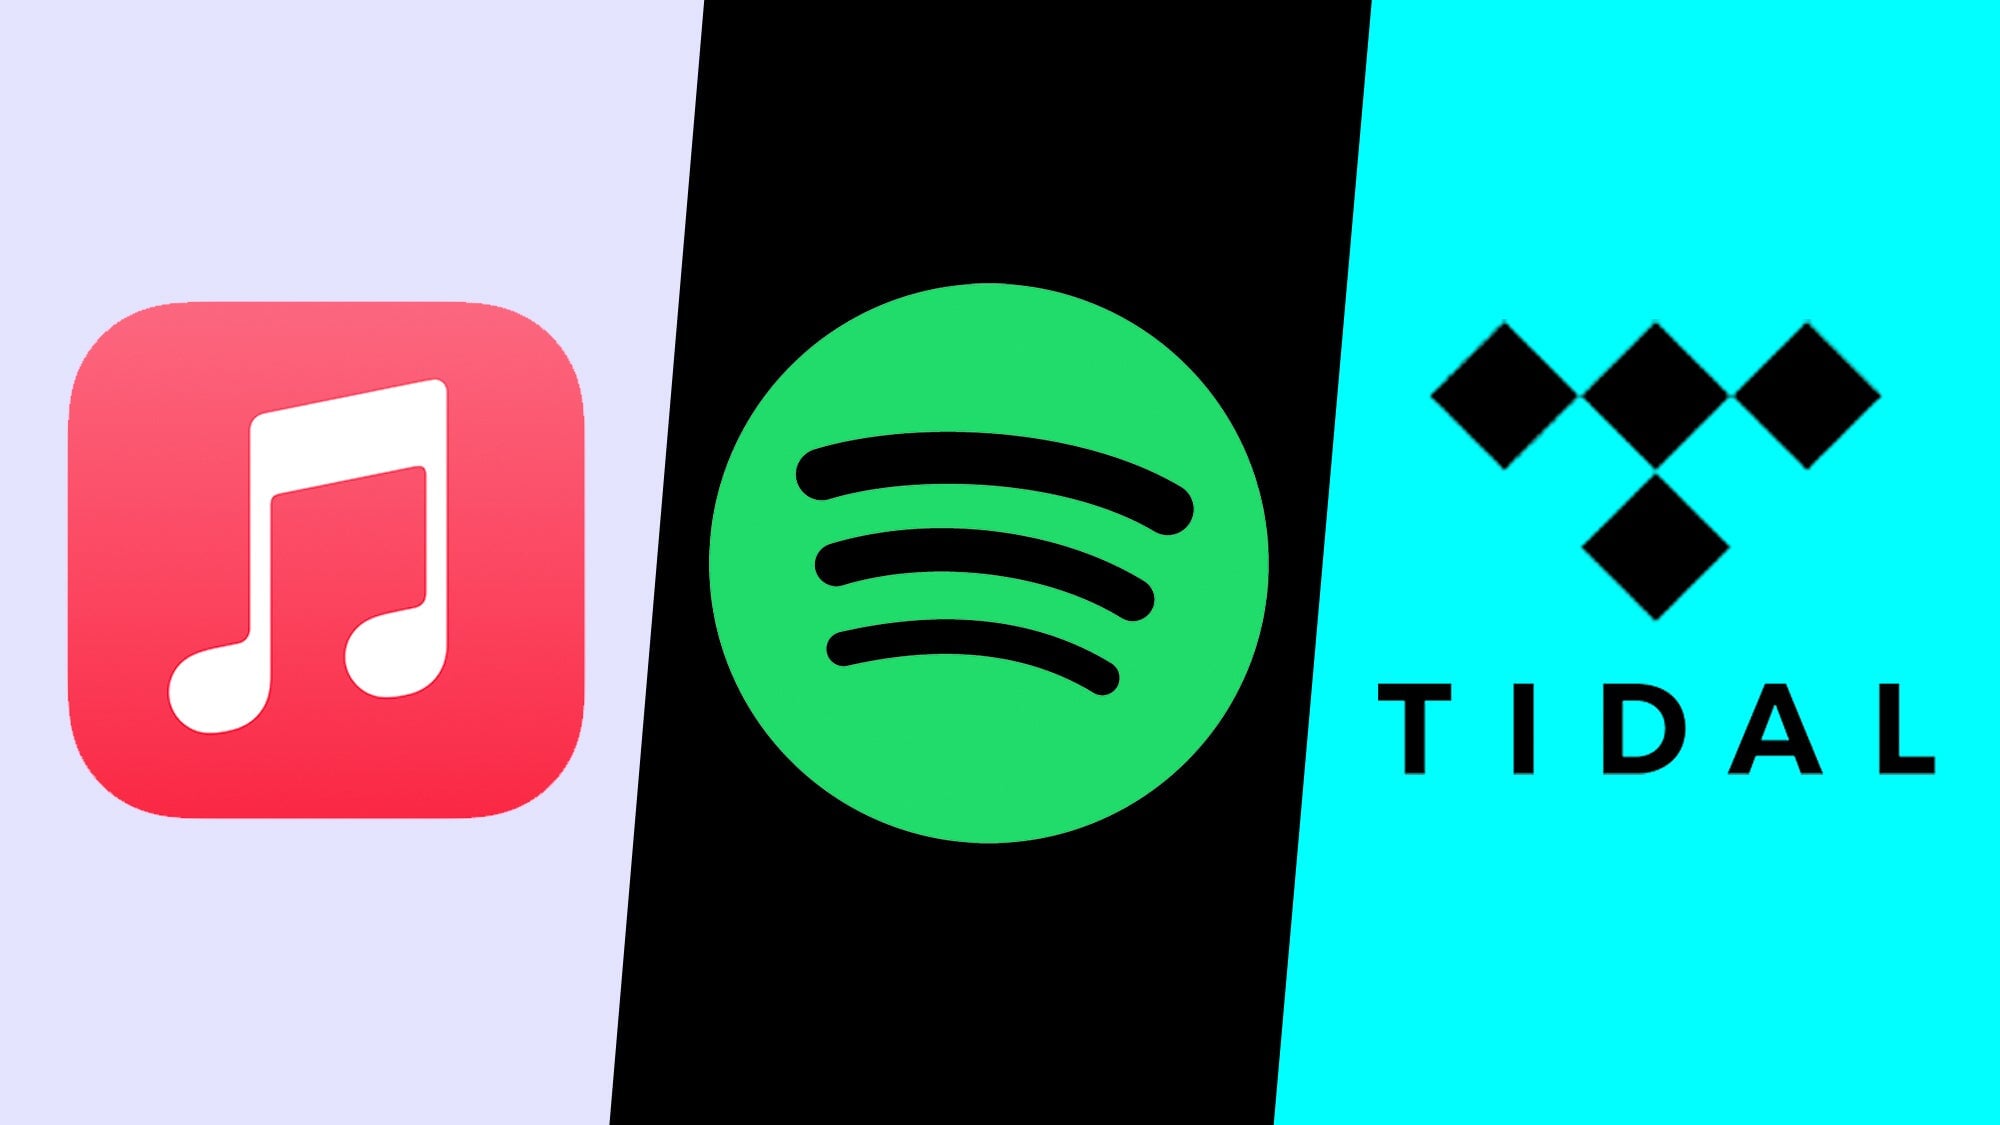
Spotify generally aims for around –14 LUFS
-
Apple Music hovers closer to –16 LUFS
-
YouTube Music is often around –13 LUFS
You don’t need to memorize these numbers right now — but it’s important to know they exist. In our Technical Mastering Guide (linked below), we cover exact targets for each service.
Common Mistakes to Avoid
-
Over-limiting your track — squashing dynamics just to make it louder can backfire when streaming platforms turn it down.
-
Ignoring file quality — always export a lossless file (WAV or AIFF) at 24-bit and your project’s sample rate.
-
Skipping headroom — give your mastering engineer about –6 dB of space to work with.
-
Not checking playback — always test your master on headphones, speakers, and in a car to make sure it translates well.
How to Prepare Your Mix for Mastering
-
Export a clean, lossless file — WAV or AIFF, 24-bit, 44.1 kHz or 48 kHz.
-
Leave headroom — peaks around –6 dBFS, no clipping.
-
Avoid mix bus limiting unless it’s a deliberate creative choice.
-
Include full fades and tails so nothing gets cut off.
-
Send notes — if you have reference tracks or a creative vision, share them with your mastering engineer.
Why Working With a Mastering Engineer Helps
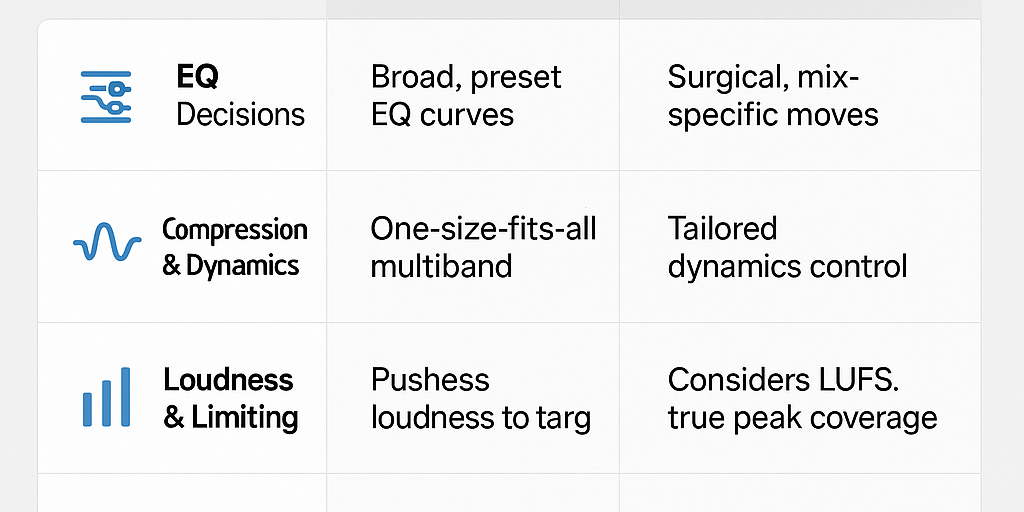
An experienced mastering engineer knows how to hit the sweet spot where your track works across all streaming services without sounding lifeless or overly processed. They’ll balance EQ, dynamics, and loudness in a way that keeps your track competitive and true to your artistic vision.
Next Steps
Once you understand the basics, you can dive deeper into the specifics of loudness targets, metering tools, and platform-by-platform nuances. Check out our Technical Mastering Guide for Spotify and Streaming for an in-depth walkthrough.
If you’re ready to release, you can send me your track and I’ll make sure it’s polished, balanced, and platform-ready.